Smooth, precise, contact-free -
Flatness and contour measurement in a new dimension
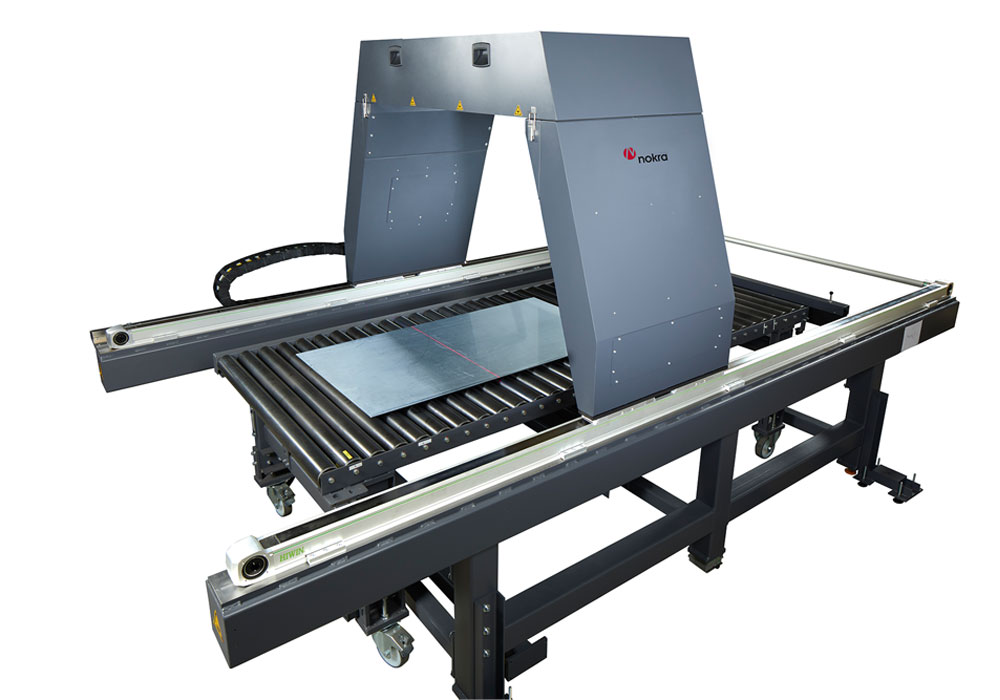
Contact-free and automated, the measuring systems from Nokra Optische Prüftechnik und Automation GmbH measure the widest range of strips and sheets of their customers for flatness, contour, thickness or width. The measuring systems are kept on course by HIWIN axes with toothed belt drives.
Standardised special plant engineering – two things that are mutually exclusive. But not at Nokra GmbH, based in Baesweiler near Aachen, Germany. The machine manufacturer specialises in laser measurement systems for automatic inline inspection of geometric characteristics of products in the metal and automotive supply industries. For this purpose, the medium-sized company simply developed standardised measuring systems from its special systems. This allows Nokra to provide its customers with exact measurement results from the standard segment, which can be individually adapted to the respective application requirements.
Nokra is one of the first companies that has also successfully introduced the laser triangulation method to the inline inspection of geometric measured variables. Optical distance measurement is carried out electronically with a laser and fully replaces the X-ray method, which often has negative connotations due to the radioactive radiation.
Two measuring processes in one system
Up to now, flatness and contour measurements have only been possible in two different measuring cycles. With the alpha.fi compact, Nokra has made it possible to document and verify two measurement values in a single measurement process. Without operator influence, the alpha.fi compact determines objective and traceable data on the flatness and contour of steel, aluminium and non-ferrous metals. Thanks to the automatic feedback of the measurement results into the production process, costly errors in production can be avoided and the productivity and economic efficiency of the entire production process can be increased.
In addition to their technically perfect construction, the measuring systems also score points with their design: “Of course, we make a point sure that our systems are also visually appealing”, says Natascha Classens, technical product designer at Nokra, with a smile. “The linear axes from HIWIN fit seamlessly into the concept”. HIWIN even won the reddot award for its linear modules in 2016.
HIWIN puts Nokra laser measuring systems on track
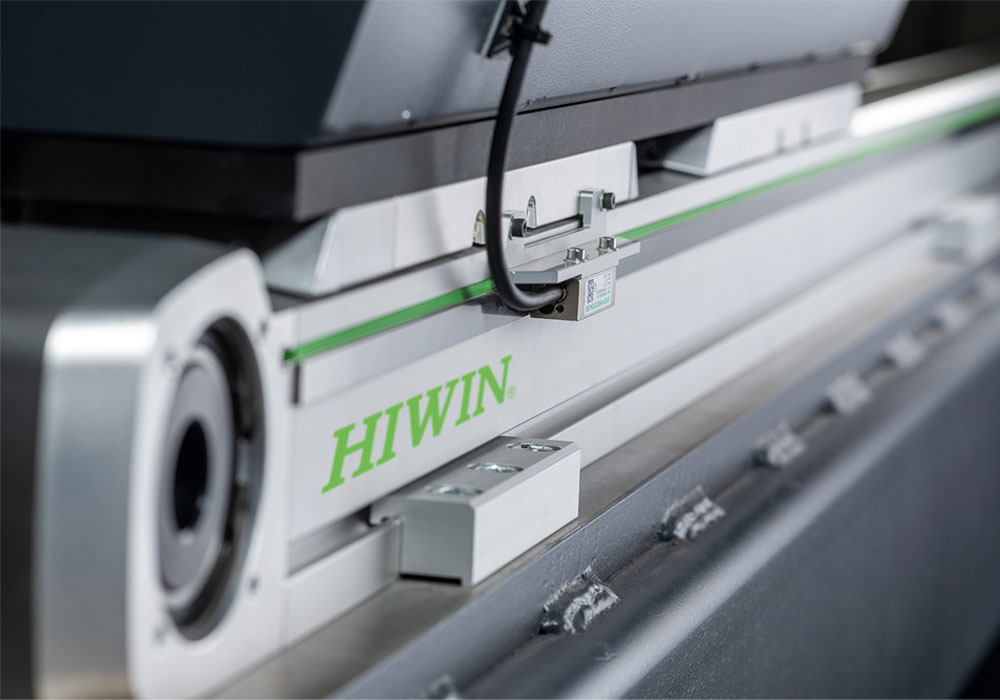
Precise linear axes with toothed belt drive from HIWIN are used to position the measuring systems. However, before the flexible and compact positioning modules from the drive technology specialist were installed, a combination of a ballscrew drive and linear guideways was in use. “Not only was design work more complex, but assembly was as well”, says Sebastian Müller, production manager at Nokra. The linear axis with toothed belt drive now also makes longer travel distances possible. The stroke can be freely selected in millimetre steps. This is optimal for the infinitely scalable measuring length of the alpha.fi compact with up to 6,000 mm.
Connected with a synchronous shaft, the HM-B axes become a double axis in no time at all. With repeat accuracies of ± 0.05 mm, exact positioning accuracies of the measuring system are ensured. This makes the double axis particularly well suited to gantry applications, such as the alpha.fi compact laser-based measuring system.
Feedback directly in manufacturing processes – sensors are crucial
The digitalisation of production data is a decisive competitive factor in many manufacturing processes, and this has not just been the case since Industry 4.0. Production data continually leads to a better understanding of production and thus to quality assurance during production processes.
Specially developed Nokra sensors are used for the exact recording of measured values. The high measuring frequency, the precisely synchronisable measurement in terms of time and the high dynamics in relation to the scattering properties of the measuring surface is what set the sensors apart. “This is one of our major competitive advantages. No sensors are as exact as ours”, says Sebastian Müller, production manager (Nokra). The sensors inspect seamlessly inside the measuring system and automatically in the production cycle. Measurement accuracies of up to ± 0.1 mm for contours and up to ± 0.025 mm for flatness measurements are guaranteed. The precision and traceability of the measured values are in line national and international norms and standards (DIN/EN, MSA).
The values recorded during the measurement are immediately displayed in 3D on the control stand. Through automatic feedback of the measurement results to the production machines, inaccuracies are detected directly in the production process and remedial measures can be initiated and implemented right away.
Delivery capability – that is what makes the difference
Despite their small production team, Nokra delivers around 25 measuring systems per year – and always on time. “On-time delivery of the systems is a major competitive advantage, so the ability to deliver the components also plays a huge role”, explains Natascha Classens, technical product designer (Nokra). With HIWIN, the measuring system manufacturer has found a reliable partner when it comes to drive technology. Short and punctual delivery times have always been the hallmark of the Offenburg-based drive technology specialist. “And we are also impressed by their flexible accessories such as the distance measuring systems”, continues Natascha Classens, technical product designer (Nokra).
In addition to the exceptional service, the HIWIN online portal is also an optimum platform for independent searches for the perfect drive component for every application using the right design tools and CAD configurators. All around the clock. Worldwide. “It is of course unprecedented when the correct and also individually configured CAD data is available in real time and you can continue designing right away”, said Natascha Classens, technical product designer (Nokra).
Nokra is on the rise. What started as a special machine builder for flatness measurement applications, the medium-sized company from Baesweiler is working its way farther and farther into the field of laser measurement systems with its core competence in the triangulation process. It builds, calibrates, adjusts and repairs the lasers and sensors as well as its equipment on its own. This is only possible together with strong partners like HIWIN.
Watch the video on the application now!


